Having finally painted up the medieval sappers – basically peasant figures with hammers and hatchets – we decided to use them for a game. Scenario 8 of Grant and Asquith’s Scenarios For All Ages seemed perfect: One side has to evacuate a village and then destroy the bridge behind it, while the other attacks in force and tries to stop the evacuation.
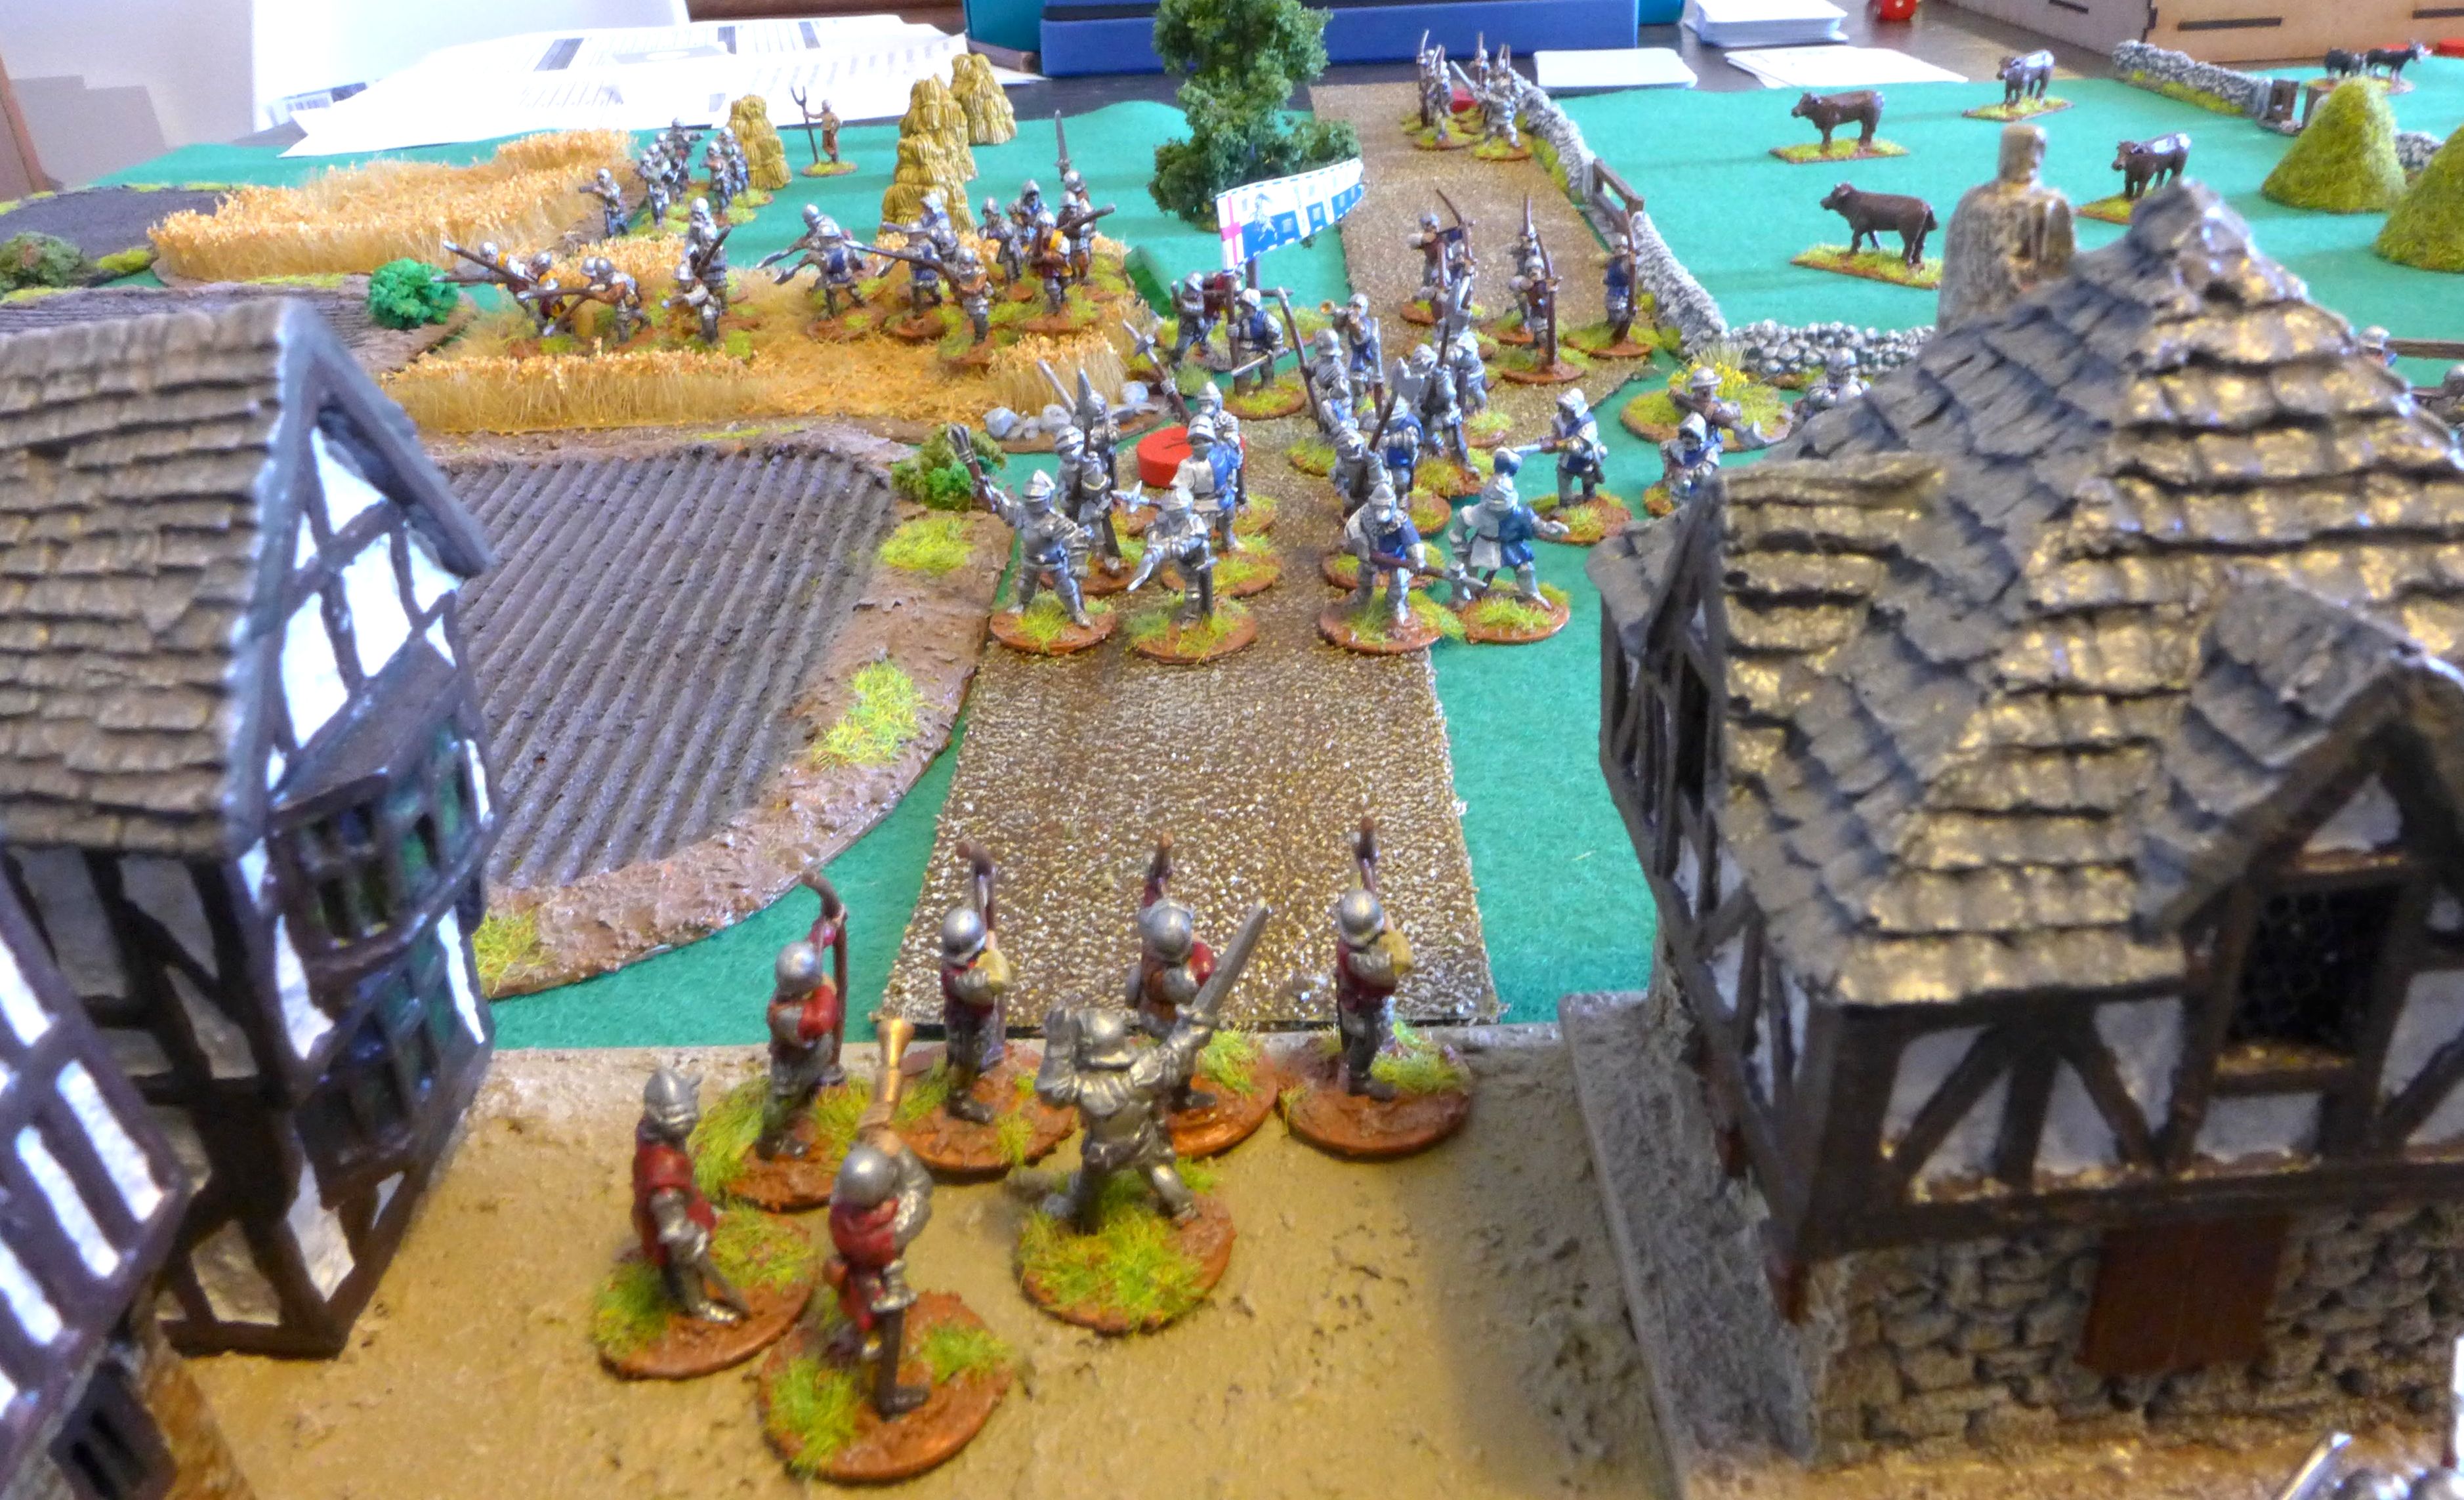
I played the defender, as I usually do – for some reasons, I prefer this role. K. was the attacker, fielding almost double the number of units I had. I set up my troops in the village, the archers securing the perimeter while the men-at-arms stood behind them ready for the onslaught. My skirmishers where hidden in the wood to my left while my handgonners covered my right flank. I also had a culverine which I positioned on the hill so it could cover the approaching enemy.

The enemy approached very cautiously. K. didn’t manage to activate most of her troops, so by the time all of her troops had arrived her side of the table was quite crowded. I used the respite to get the baggage train moving – I had to get eight pieces over to my edge of the table. However, when the Lancastarians finally got moving it was an imposing sight! Many a stout Yorkist warrior’s heart sank when men-at-arms, archers, pikemen and handgonners lumbered towards them.


My culverine decided to take a shot at long range but didn’t hit anything. I pondered if I should reload it but, as this would take very long, decided to pack it in and get moving – retreating the culverine over the bridge would also get me victory points.

My handgonners went forward to take position behind a stone wall so as to try to slow down the advance. Everything was ready and I mentally prepared myself for the onslaught.

My handgonners fired and my billmen rushed out of the cover of the buildings to charge the Lancastarian flank and then mayhem ensued.


K.’s first group of men-at-arms crashed into my archers which, to our mutual surprise, stood their ground. However, when the second group charged, they had enough and routed. Fortunately, my next line of defence, my own men-at-arms with my commander, held. Also, my billmen and the handgonners did quite well on the flanks, harassing the Lancastarians and slowing their advance.

The last card was now on its way. Earlier, I had retreated the skirmishers from the woods back to the bridge, something that now saved my neck. When the men-at-arms were pushed back, those brave Welsh warriors managed to hold their ground and buy the cart enough time to make it to the other side of the river.

When the cart had passed, the sappers, seeing masses of Lancastarians pouring into the village, lost their nerves and demolished the bridge. All my Big Men were trapped on the other side! Also, I hadn’t managed to evacuate the culverine. By the time it was limbered and ready to go, Lancastarians were already in the village and I had to move it off the road. Predictably, it got stuck and didn’t get far.

I had achieved a victory! However, it was a very costly one: Although I managed to evacuate all the baggage, I didn’t get any of my troops out. All of my Big Men are presumed captured, as is the culverine.
This was a very dramatic game. I was lucky that K. didn’t get moving for the first three turns while my evacuation progressed pretty well. Also, all of my troops performed outstandingly – even the handgonners! Going into the offensive on my right flank helped to take a bit of momentum out of the Lancastarian juggernaut. Having the skirmishers at the bridge at the right moment enabled my last cart to get away – although I have to admit that this was no tactical masterstroke but happened by accident: I retreated them because I wanted to get them out, not to use them as a last reserve. Still, I am quite pleased with the interplay of my troops. My only regret is the lost culverine: I should have either written it off and kept reloading and firing, forcing K. to deal with it, or limbered and moved it away immediately without firing at all – there was no time for both.
On a side note, this was also the game featuring the most figures we have ever played with. All in all, we had about 120 figures on the table – that’s quite a lot for us, who are more accustomed to skirmish games than to big battles. It looked really good though!
