The Messenger – Lion Rampant AAR

Don’t kill the messenger, that’s what I kept saying. Would K. listen? No.

But let’s start at the beginning. Last weekend we finally inaugurated the old table in the new flat and had a game of Lion Rampant. After having a go at the scenario ‘The Messenger’ with Mick, I decided to introduce it to K. This time, we stuck to the retinues from the rule book, me taking the Almoravids (using the ‘Berber’ list) and K. the Spanish.

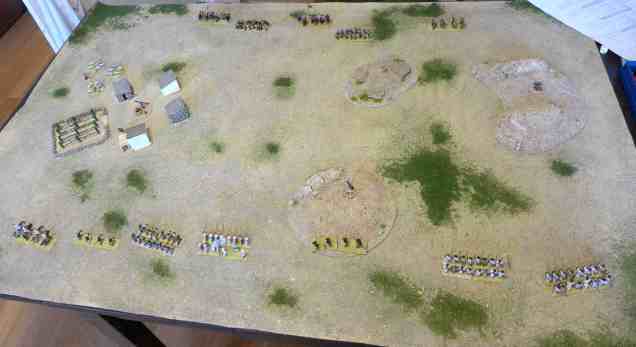
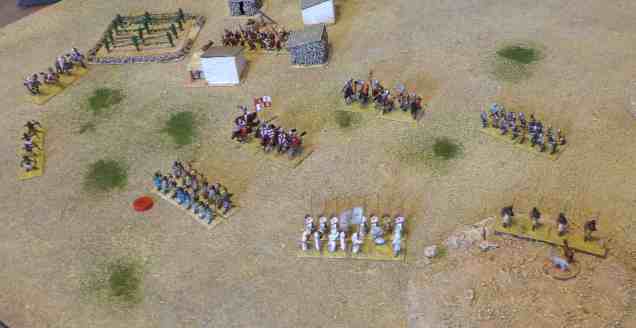
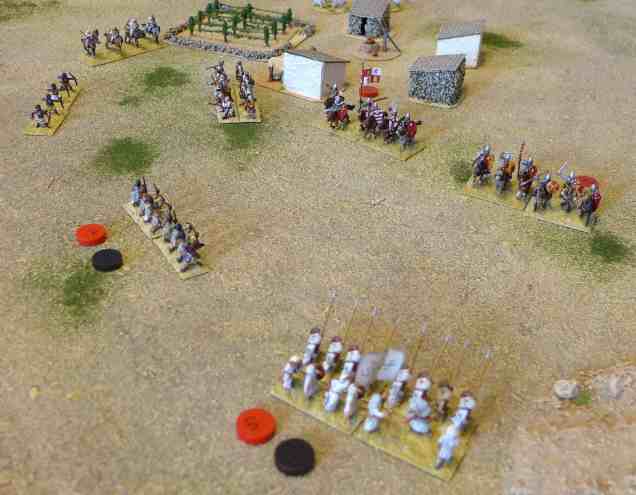
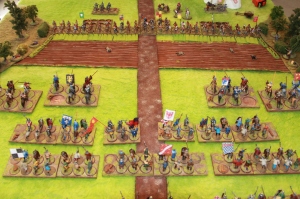
The set up.
The set up.
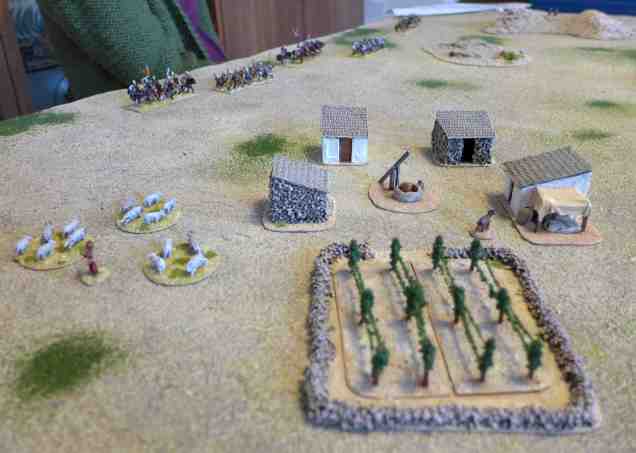
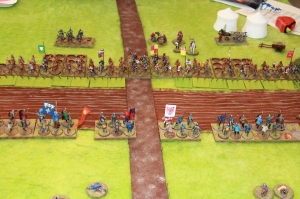
The garrison watches.

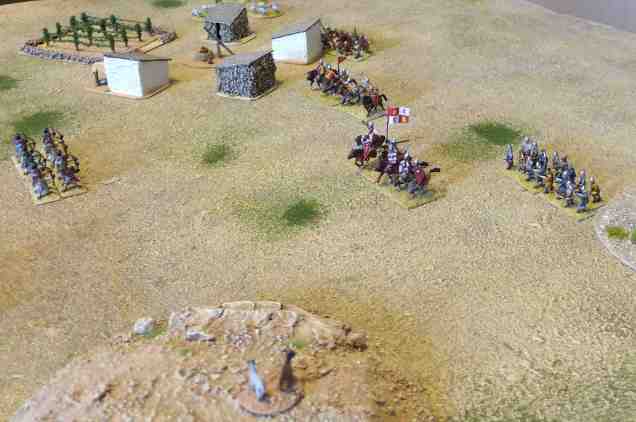
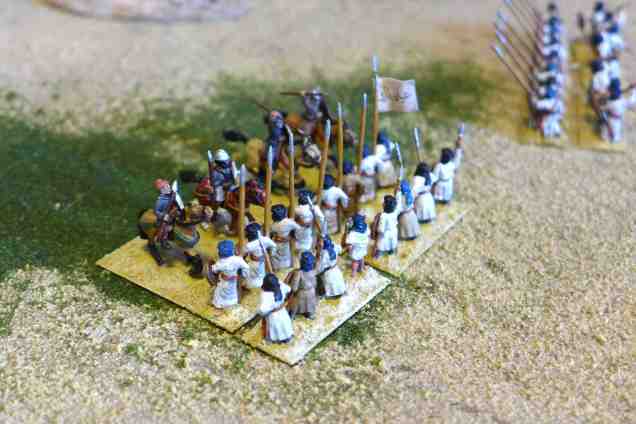
The scenario stated that I had to get a messenger from my watch tower to the small village while K. had to intercept him. The messenger was attached to one unit of Foot Yeomen – as I didn’t have an appropriate figure, I just supposed he had gone undercover and donned the clothing of an Almoravid warrior…

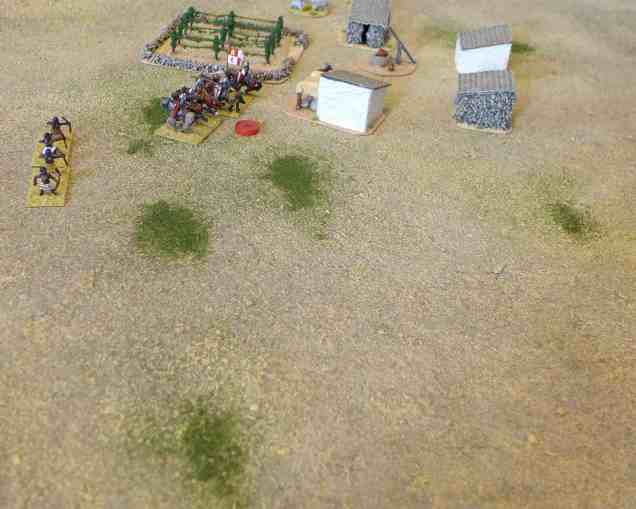
The village, waiting for the message.
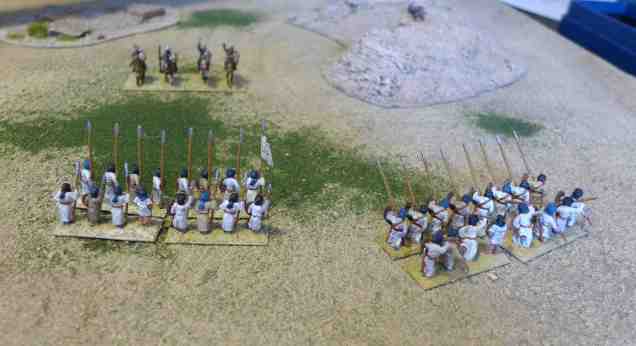
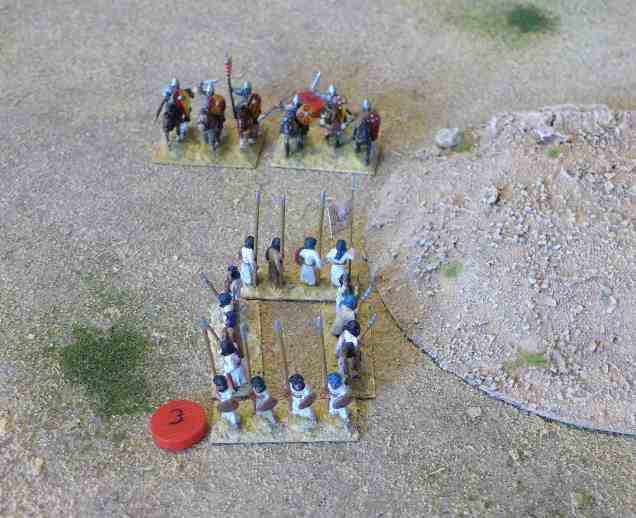
Spanish Mounted Yeomen preparing an ambush.

While my main force advanced, K. moved her light cavalry into position to cover the road. I decided to shadow them with my own light cavalry. However, as soon as the rascals were out of sight of my commander, they wouldn’t budge and stood behind the woods for the rest of the game. Several times I tried to perform a ‘skirmish’ manoeuvre against K.’s horsemen, but to no avail!

Meanwhile, K. moved her main force in position for what looked like a head-on battle.

Follow that goat!
Follow that goat!
The view from the watch tower.

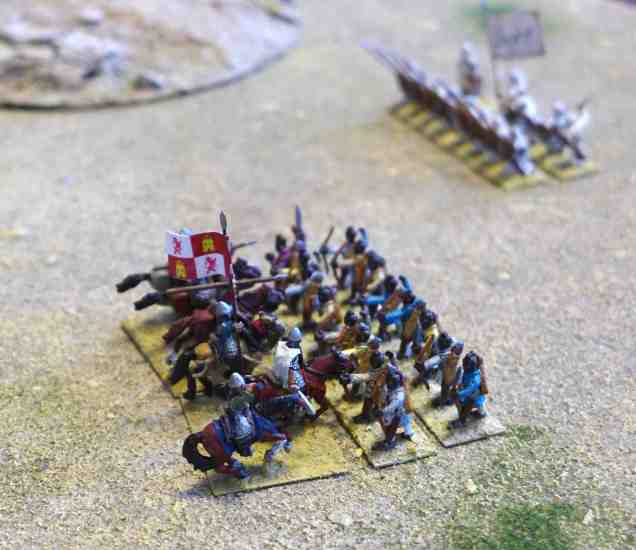
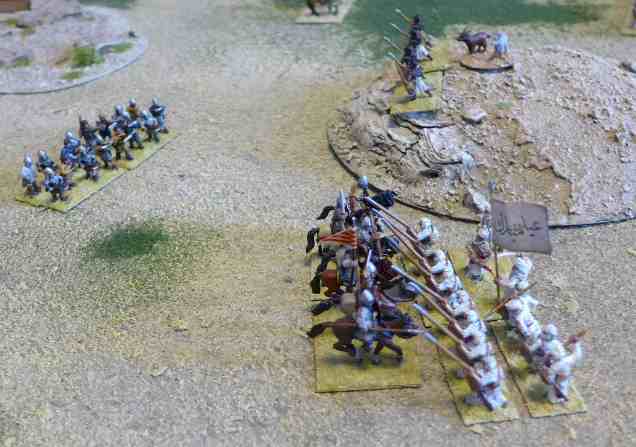
The battle started in earnest when a wild charge got her mounted Men-at-Arms to charge my Foot Yeomen. K. made the mistake of positioning her knights at her far left flank, where they were unsupported by infantry. However, fortunately for her, my tactical acumen wasn’t any better and the Foot Yeomen were similarly isolated. The clash severely damaged my infantry, which a couple of attacks later succumbed to the ferocity of the cavalry.

The line still holds...
The line still holds…

My center initially advanced in good order – I was lucky with activation rolls and for some time convinced myself that I might be able to punch through.

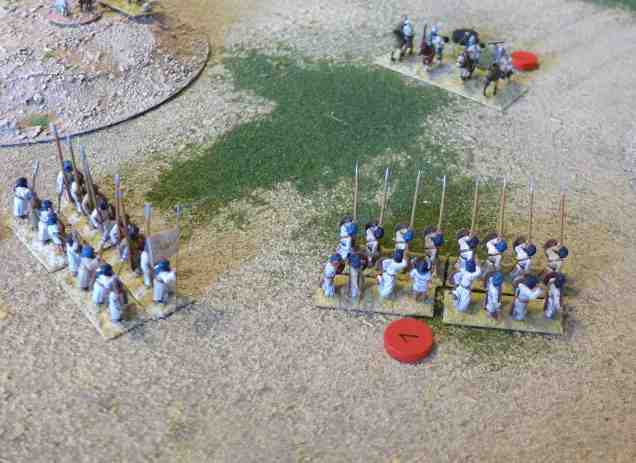
Marching right into K.'s trap.
Marching right into K.’s trap.

Especially my Fierce Foot were phenomenal and did heavy damage to the Spanish troops. However, I never got rid of the light Spanish cavalry lingering on the hill, and as soon as the unit with the messenger was in range, K. charged.

The Spanish cavalry springs into action.

And that’s how she did kill the messenger.

Another great game! We are slowly getting the hang of Lion Rampant, although we both made tactical mistakes – me more than K., and that’s why I lost. I should have supported my right flank and most importantly I should have dealt with K.’s cavalry in some way. Sending my light horse on an errand on the left flank was a bad idea, as they were basically out of the game.

Still, we both like Lion Rampant very much and are keen to try other scenarios. Maybe next time, I’ll take the Spanish – or maybe I’ll think before I act and make a plan for a change.
Agincourt with Lion Rampant

Before we moved, Lead Adventure Forum pal Mick_in_Switzerland invited me over for a farewell game. As he is working on an Agincourt project in 28mm, we decided to have a go at this battle. Both of us having just bought Lion Rampant, we wanted to see how the rules would work with a set-piece battle.

Mick prepared the two forces on the basis of his historical research. At first glance, this made the English look like a ‘happy few’ indeed: Six English stood against sixteen French units! However, the English had not only high quality units (four units of Expert Archers and two of Foot Men-at-Arms), but also the terrain working for them: The archers were behind stakes, which would count as cover in melee, and in front of the English lines lay the ploughed fields, which counted as rough terrain and would half the movement of approaching French units. Still, I was pessimistic about the English prospects, having seen in the El Cid game what Mounted Men-at-Arms could do.

The flower of French chivalry attacks

For the first game, Mick played the French. He decided to recreate the historical strategy and attacked in waves. The first wave comprised of two units of Mounted Men-at-Arms and two Mounted Serjeants. Due to activation misses and the ploughed fields, they advanced rather slowly and gave the archers plenty of opportunity to shoot. To our shock, the attacked ended with the first wave completely annihilated by a rain of arrows, while the English lost only two archers.

Infantry moves in
The infantry moves in

The French second wave was made up of two units of Foot Serjeants on the flanks and two units of Men-at-Arms in the centre. Only the Marshall of France’s group of knights managed to make it through the archer’s killing zone, heroically plunging into the English knights and causing some casualties before finally succumbing.

In view of those appalling losses – forty casualties against four on the English side – the French decided not to launch their third wave and conceded defeat.

In the second game, I played the French. We had the idea that I should try to do a better job than the historical French and devise my own strategy instead of following the historical order of events. I decided to use the Crossbowmen more offensively and get them in range to shoot as soon as possible. I covered them with Foot Serjeants and advanced. As was predictable, the Serjeants were shot to pieces quickly, but at least they gave the crossbows a chance to get in range. While their shooting did some damage to the archers, they couldn’t withstand the arrows for long and were gone before they did substantial damage. The English archers were still strong enough to easily destroy my cavalry before it could reach the English lines. At this point, I conceded defeat.

Mick and I were impressed how the rules handled a scenario like this. Agincourt certainly would be challenge for most rules, as the French have a huge superiority in numbers while the role of the English is rather static. However, the activation mechanics makes playing the English interesting and the way the rules handle rough terrain makes the French attack really difficult. For a set of rules that stresses entertainment and fun, Lion Rampant certainly delivered a very historical result!

After some snacks to recover from the shock of the bloodbath, we had a go at two of the scenarios in the Lion Rampant rulebook. We used the English and French retinues listed in the book and played ‘Meeting the Neighbours’ and ‘The Messenger’. Both games were great fun and we started to discover some of the tactic possibilities of the rules. One game was won by me, the other by Mick – interestingly, both when playing the English. I guess the French were demoralised after their defeat at Agincourt.

Again many thanks to Mick for his hospitality; this was a great and fun afternoon!

First Game of Lion Rampant

Most of the wargaming stuff is already packed up in boxed for the big house move, but last weekend we nevertheless managed to have a first game of Lion Rampant. K. took El Cid and his retinue while I played the Almoravids. I put together two retinues based on what looked plausible to me and without following the army lists in the rulebooks. We ended up having two 25 points forces: The Spanish had two mounted Men-at-Arms, one of them being drilled, one unit of Mounted Serjeants, one of Foot Yeomen and one of Crossbowmen. The Almoravids had three units of Foot Serjeants, one of mounted Serjeants, one of Archers and two Bidowers.

The game was a simple straight-on battle (the ‘Bloodbath’ scenario from the rulebook) to familiarise ourselves with the rules. Each of us just plunked his or her units on the table and the fun could begin!

During the first couple of turns, I was extremely unlucky with activation rolls and my guys stood rooted to the ground. This wasn’t that bad as the Almoravids prefer defensive tactics anyway (the Foot Serjeants are better at being attacked than at attacking), but it meant I was hovering precariously close to the table edge with little space for retreating.

The set up.
The set up.
The Spanish retinue.
A still peaceful village.
Almoravid infantry prepares to receive the charge.
On the right flank, Almoravid infantry prepares to receive a charge…
…and repulses the attack.
The Cid advances.
The Cid advances in the center.
On the right flank, the mounted Serjeants keep up the pressure.
The Spanish knights charge the Archers.
The Cid and his knights charge the Archers.

pic7

Another attack against my center.
Another attack against my center…
…which starts to crumble.
My leader being killed, the center breaks down completely.
My leader being killed, the center breaks down completely and the Spanish knights mop up the flank.
The last Almoravid infantry forms a Schiltron and makes a last stand.
The remaining Almoravid infantry forms a Schiltron and makes a last stand.

That was a fun game! K. won very clearly after breaking through my center with her heavy cavalry and killing my leader.

We got some things wrong at the beginning: we kept forgetting about the 3″ Zone of Control, especially concerning friendly units, and I forgot the Schiltron special ability until the very end of the game, when I finally used it to make a last stand.

Also, my tactics leave much room for improvement: I used my Archers and Bidowers quite stupidly and lost them without them making much of an impact. Mounted Men-at-Arms are very tough nuts to crack in this game, so I’ll have to think of something when I’m up against them again. I also felt my retinue lacked in offensive power, so I might take Mounted Men-at-Arms myself next time – some time ago, I’ve painted up Yusuf’s Hasham, his personal bodyguard, to use as heavy Almoravid cavalry.

Anyhow, we both greatly enjoyed Lion Rampant. It gives a very fast and fluid game and the mechanics are simple yet elegant – after a couple of turns, there was almost no need to consult the Quick Reference Sheet. We’ll certainly have a go at some of the scenarios soon.

Joining the Rampage

We are in the process of preparing a major house move, so don’t expect many battle reports in the next weeks. There may be one exception, however. After reading lots of great reviews, I finally caved in and ordered a copy of Lion Rampant from Annie at Bad Squiddo Games.

pic1

I’ve read it and it looks very good. Being one of the Osprey Wargames series, it has the high production values usual for the publisher. However, the rules mechanics are also very clever. I particularly like the activation sequence: Troops are more or less likely to be activated according to their profile and what you want of them. Mounted men-at-arms, for example, are easy to activate for attacking but harder for moving around, while archers are of course more willing to shoot than to enter melee. I also like the ‘Wild Charge’ special rules for mounted men-at-arms. If they are near enough to reach an enemy unit, they have to test if they will charge it, even if this is unfavourable to them. This reminds me of a great scene in The Poem of El Cid:

“‘Stay where you are, my men’ (said the Cid), ‘and let none break ranks till I give the word of command.’ But Pedro Bermúdez could hold out no longer; he held the standard and spurred on his horse […] The Cid cried, ‘Stop, in Heaven’s name!'”

This quote gives you already a hint what figures we’ll use: namely the 15mm El Cid figures. Now those are based as elements for playing mass battles, however there is no reason why Lion Rampant won’t work with elements – we will just use markers to indicate hits.

Finally an outing for the archers!

While Lion Rampant is intended to model skirmishes, I think they will also work for small battles. Some of the rule mechanics already give the feeling that a unit is more than the 12 or fewer individuals it would represent on a 1:1 scale. For example, friendly units can’t move through each other, not even when they are retreating. Or rough terrain is handled as a zone where all units are on a similar footing and have equal values for attack and defence. On the Dux Rampant forum, the rules author Dan Mersey also published some optional rules for flank and rear attacks, which we will use as they feel more appropriate for the way my figures are based.

The only other change I will make is to reduce all distances by one third. Playing with 15mm figures on a smallish table, this is something I’m used to doing and it always works well.

Lion Rampant is all over the place at the moment – no wargaming magazine is without a scenario or rules amendments. I’m looking forward to seeing for myself what all the fuss is about and having a game. I’m also very much looking forward to breaking out the Almoravids and early medieval Spanish once again and giving them a good fight!